Add an Account
The account set-up wizard will launch automatically after the Welcome Screen.
For any additional accounts they can be added by going to the accounts menu, and then tapping the "Add account" option in the overflow menu.
First you are asked for your email address.
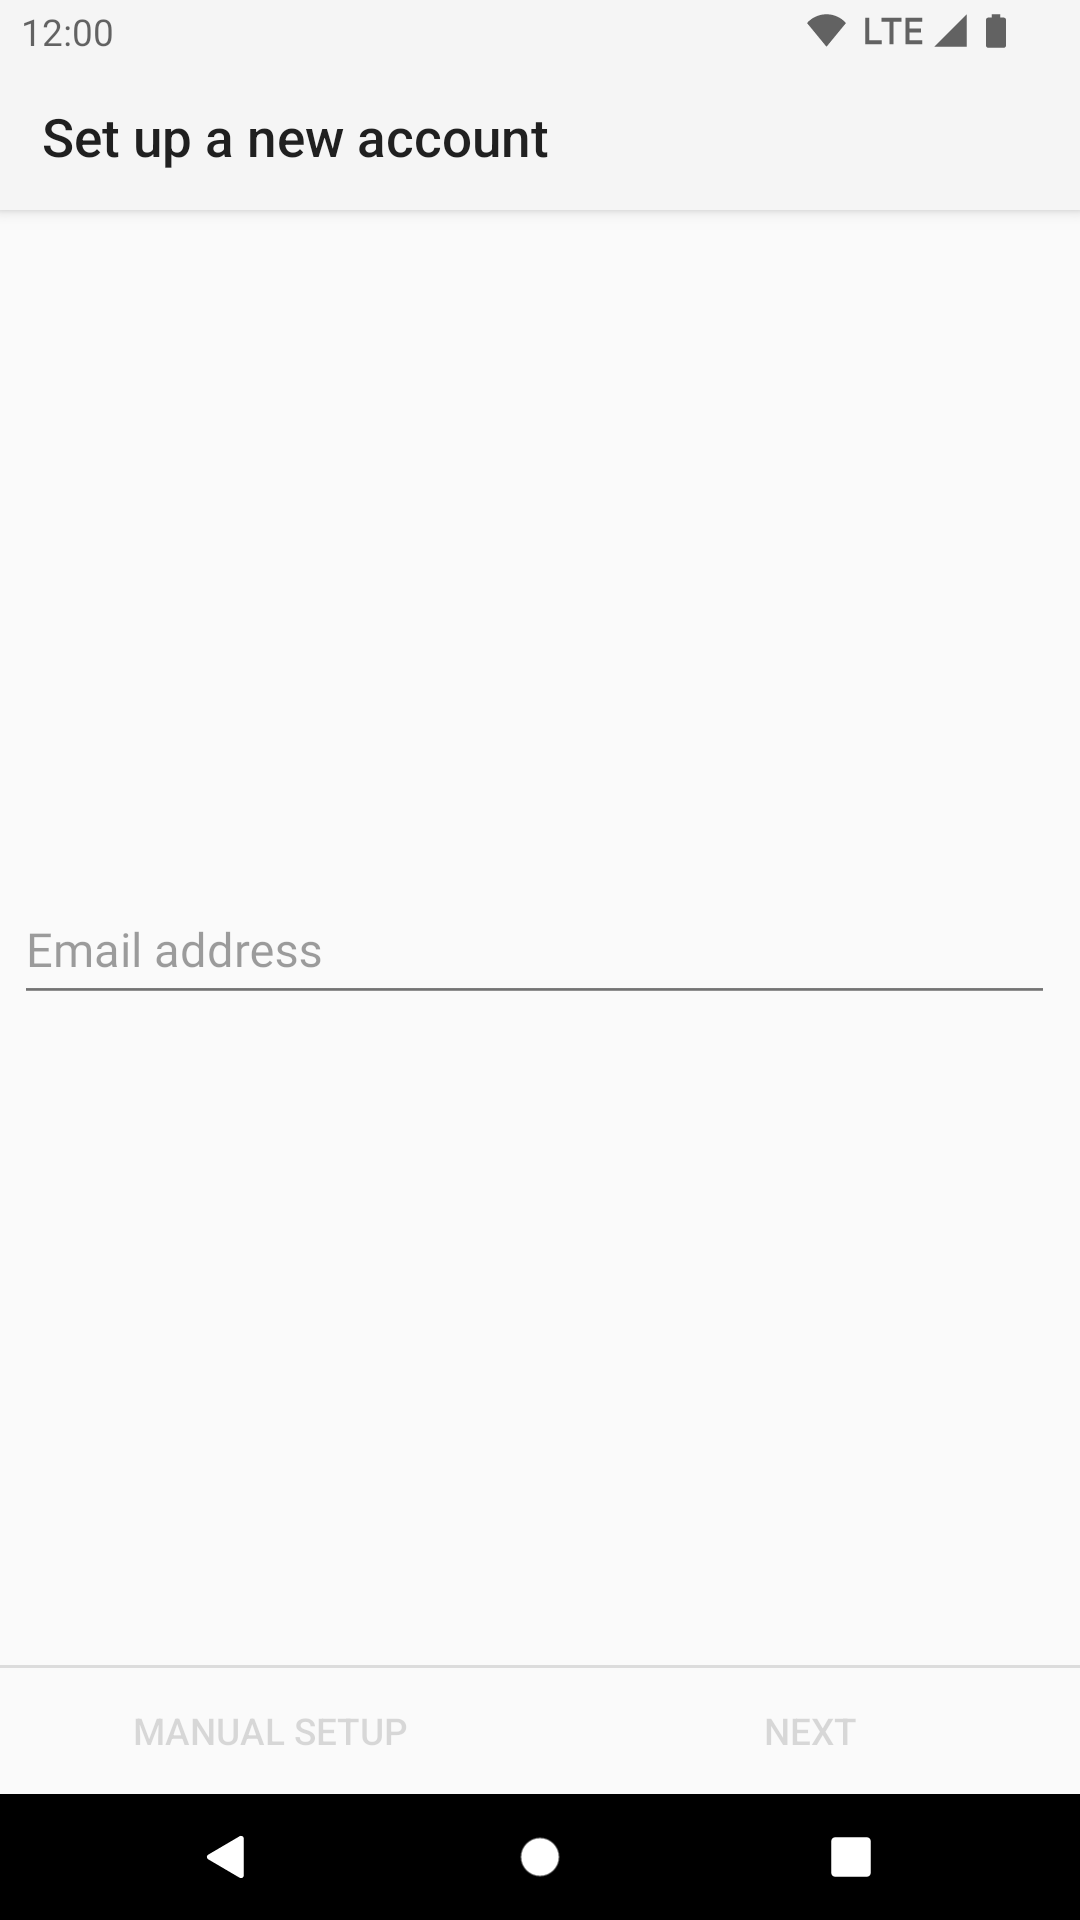
The buttons "Manual setup" and "Next" become only activated after a correctly formatted email address has been typed in.
If the email address belongs to a known email provider that requires the use of OAuth 2.0 (currently: Gmail, Yahoo, AOL, Hotmail/Outlook), you'll see the following screen.

Tapping the "sign in" button will open the browser so you can authorize K-9 Mail to access your emails.
For all other providers, you'll be asked to provide your email password.
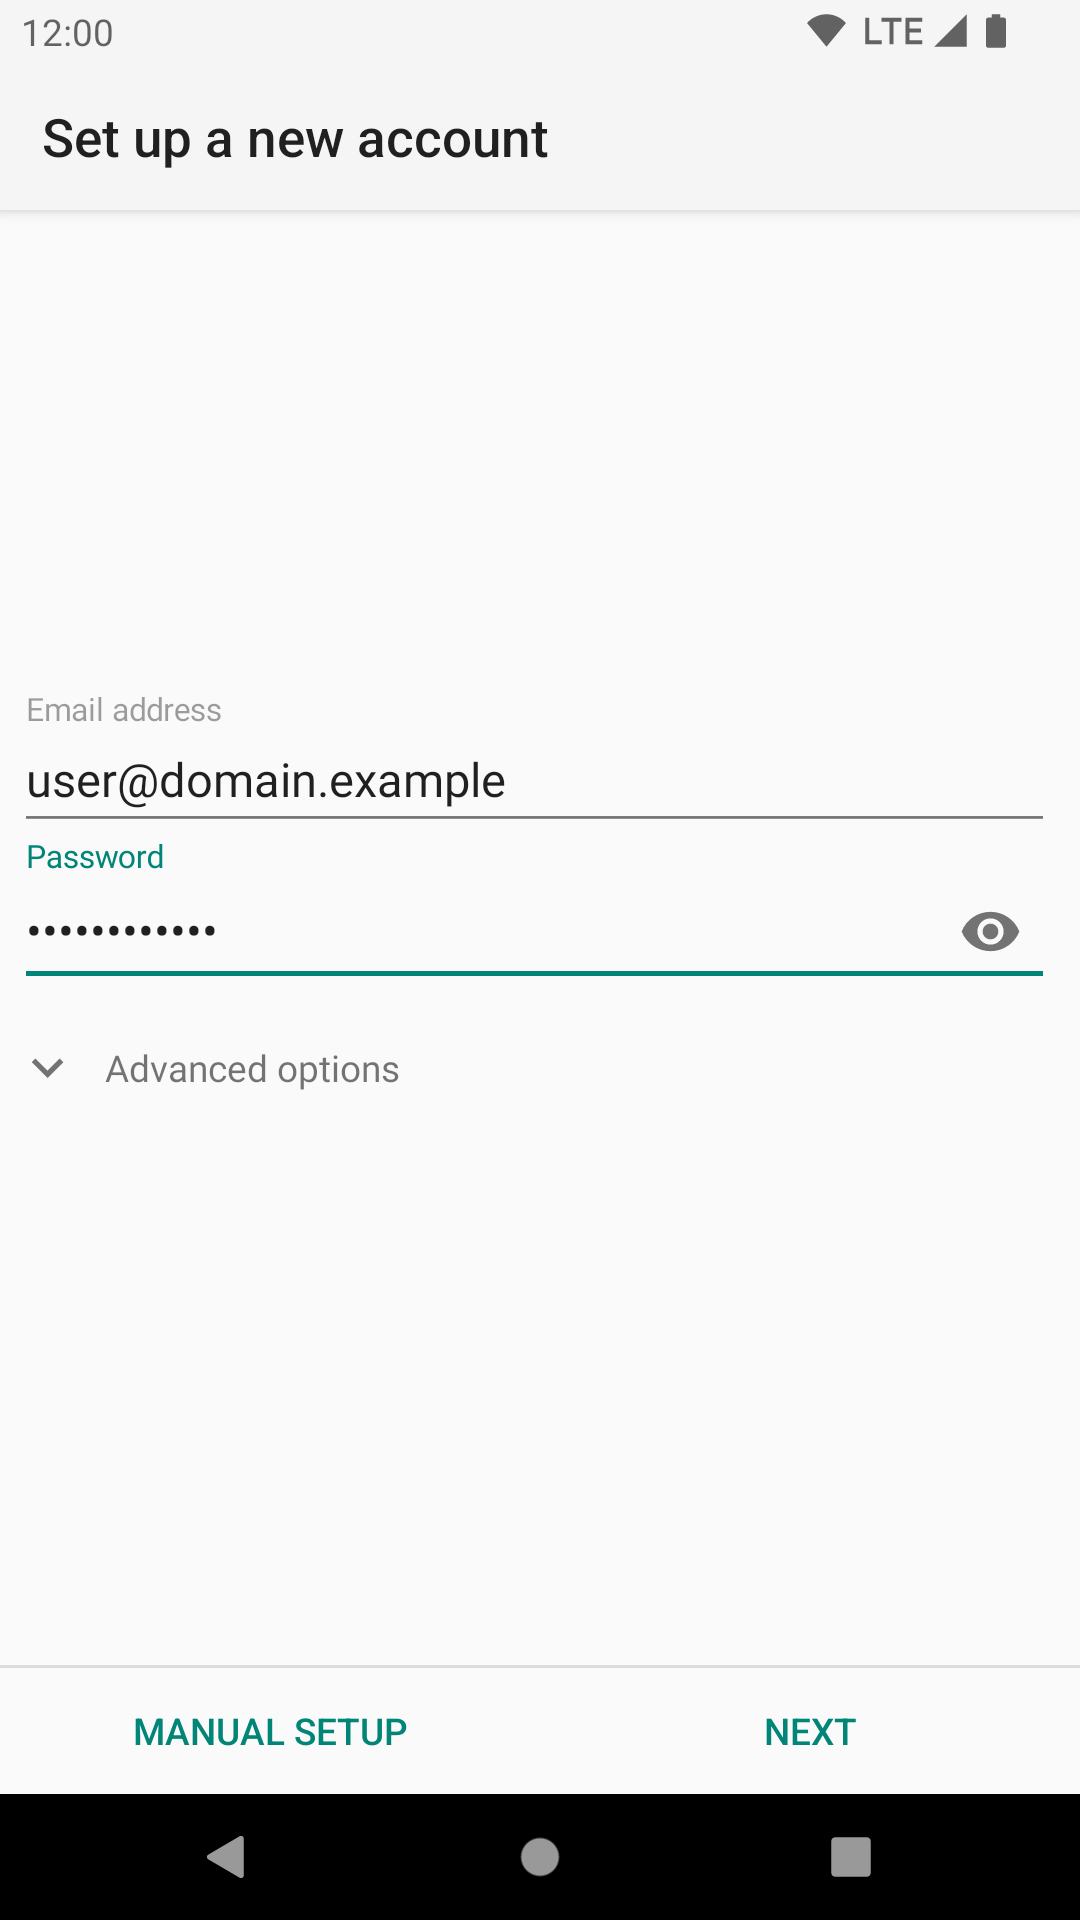
If you choose "Next" and the domain part of your email address is known to K-9 Mail, the connection settings for the incoming and outgoing server are automatically set up for you. This is the case for some large email providers.
We also list information on the settings for major e-mail providers in the FAQ.
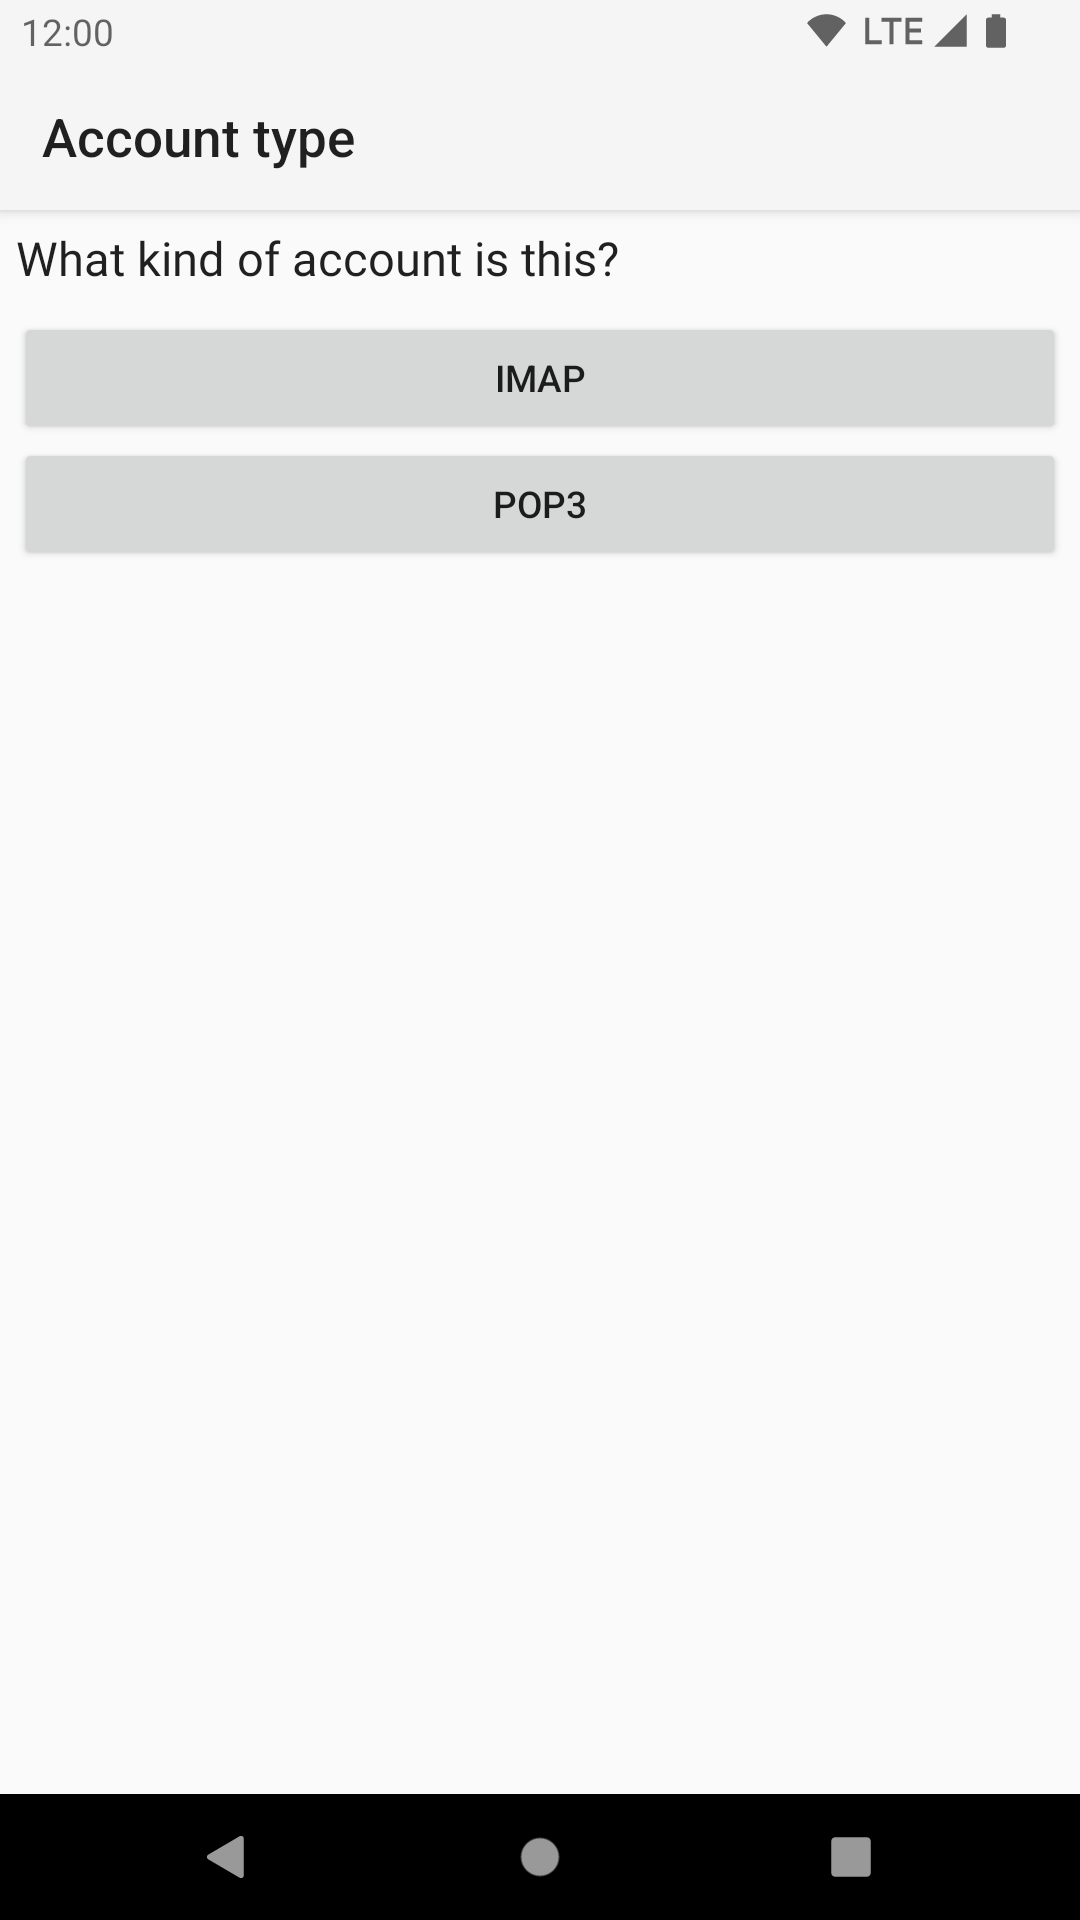
Account Type
If you need to configure it manually, you will need to first choose an account type. The available options are POP3 and IMAP.
All of these are names of protocols to access your mailbox. If your email provider supports it, we strongly recommend you use IMAP. It is superior to the others and well supported by K-9 Mail.
For more information see the linked Wikipedia entries:
Incoming Server Settings
To configure your incoming server settings see the corresponding page